Let's be honest, creating a Facebook Event is dead simple. From your profile or page, you just hit the Events section, click Create Event, and punch in the basics like the name, date, and location. But don't let that simplicity fool you - you've just unlocked one of the most powerful tools for gathering RSVPs and getting people genuinely excited about what you're doing.
Why Facebook Events Are Still a Marketing Powerhouse
Before we dive into the nitty-gritty of setting up your event page, let's talk about why this is still such a critical tool for anyone organizing... well, anything. In a world of social media feeds that refresh every few seconds, a Facebook Event page is a stable, central hub for your audience. It's so much more than a digital flyer; it's an interactive space where buzz builds and communities actually connect.
The biggest advantage? The sheer scale of it all. As of early 2025, Facebook boasts over 3.05 billion monthly active users. That gives you an incredible runway to a global audience, letting you connect with potential attendees right where they already spend their time. If you want to get a sense of the platform's full reach, it's worth checking out some recent Facebook user statistics.
Core Benefits for Event Organizers
Beyond just the massive audience, the platform gives you a suite of built-in features designed to make managing and promoting your event a whole lot easier. Think of it as your command center for your gathering.
To get started, here's a quick look at the essential tools you'll be working with.
Key Facebook Event Features at a Glance
| Feature | Primary Benefit |
|---|---|
| Built-in RSVP Tracking | Get a real-time headcount of "Interested" and "Going" guests to forecast attendance. |
| Direct Communication | Post updates, answer questions, and send notifications directly to your attendees. |
| Organic Discovery | Facebook's algorithm shows your event to users based on their interests and location. |
| Event Discussion Tab | Creates a space for attendees to chat, ask questions, and build community. |
These features are what elevate your event page from a simple announcement to a dynamic promotional tool. You can easily see who's coming, which is invaluable for planning, whether your event is online or in person.
You can also post updates, answer questions in the discussion tab, and send notifications directly to keep everyone in the loop. Best of all, Facebook’s algorithm does some of the heavy lifting for you by suggesting your event to people based on their location, interests, and friend activity, putting you right in front of a relevant local audience.
A well-crafted event page doesn't just announce what's happening; it builds a narrative. It uses updates, polls, and behind-the-scenes content to turn passive interest into active participation long before the event day arrives.
When you use this foundation strategically, your event page transforms from a simple calendar entry into a marketing asset that drives real engagement and gets people through the door.
Laying the Groundwork for Your Event Page
Alright, you get why Facebook Events are a big deal. Now for the fun part: actually building one. The process is pretty simple whether you’re doing it from your personal profile or a business Page, but the choices you make right at the start can make or break your event’s reach.
First things first, head over to the Events section in your Facebook menu. You’ll see a + Create New Event button. Go ahead and click it - this is where the magic begins.
Choosing Your Event Type and Privacy
The very first thing Facebook will ask is whether your event is Online or In Person. This isn't just a label; it changes the setup fields that follow. An in-person event needs a real-world address, while an online one will ask for a link or let you add it later.
Next up is the privacy setting. This is a big one, because once you set it, you can't go back and change it.
- Public Event: Anyone, even people without a Facebook account, can see your event. It's fully searchable and shareable, making it perfect for workshops, festivals, or any community gathering where you want to cast a wide net.
- Private Event: This is an invite-only affair. Only people who get an invitation can see the details. Think birthday parties, exclusive client meetups, or internal team meetings. Just remember, you can only create a private event from a personal profile, not a business Page.
A common mistake we see is picking the wrong privacy level. You can never change a public event back to private. If you're even a little unsure, our advice is to start private, get all your details ironed out, and then make the call to go public when you're ready.
Here's a look at the screen where you'll be making these key decisions, pulled straight from Facebook's own help documentation.
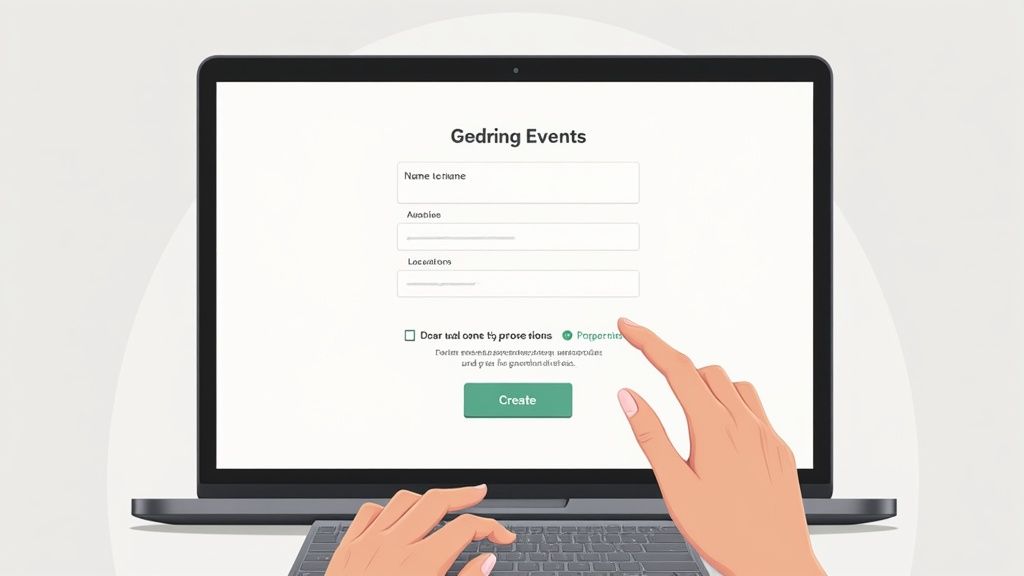
As you can see, Facebook keeps it clean, breaking down the core details into simple, manageable steps so you don't miss anything important from the get-go.
Crafting Your Core Event Details
With the basic framework in place, it’s time to fill in the info that actually gets people interested. Your Event Name is your headline, so make it count. It needs to be clear, compelling, and easy for people to find. Think about what your ideal attendee would search for. "Beginner's Yoga Workshop" is way more effective than just "Yoga Class."
Getting the Date and Time right is obviously crucial. Facebook is pretty good with time zones, but always give it a second look, especially if you're hosting an online event for a global audience.
And if your event is a regular thing, like a weekly webinar or a monthly market, you can set up a recurring schedule right here. This is a huge time-saver - no more building a new event page from scratch every single week.
Designing an Event Page for Maximum Impact
Alright, you’ve got the core details of your event plugged in. Now it's time for the fun part: turning that basic page into a professional-looking hub that actually grabs people's attention and makes them want to click "Interested."
An event page with just the bare minimum is easy to scroll past. The design, the description, the little details - that's what makes it stand out and drives RSVPs.
Let's start with your cover photo or video. It’s the very first thing people see, so you need to make a solid first impression, fast. Facebook recommends using dimensions of 1920 x 1005 pixels for the cover photo. Sticking to these exact dimensions is non-negotiable if you want to avoid weird cropping or stretching. It’s a small step that makes your page look sharp and professional on both desktop and mobile.
Crafting a Compelling Event Description
Think of your event description as your sales pitch. It needs to be clear, exciting, and answer all the key questions before attendees even think to ask them. A great description doesn't just list facts; it builds real anticipation.
To nail your copy, make sure you hit these points:
- A solid hook: Kick things off with a question or a bold statement that gets right to the heart of your event.
- The "What's in it for me?": Spell out the value for attendees. Will they learn something new? Network with industry leaders? Or just have an amazing time? Be specific.
- Key logistics: Reiterate the important stuff, like a detailed schedule, speaker lineup, or what people should bring. Don't make them hunt for essential info.
Writing a great description is an art, and it's absolutely worth taking the time to get it right. If you need some inspiration, we've put together a guide on event description examples to show you what works.
Enhancing Your Page with Key Features
Beyond the main visuals and text, Facebook has a few tricks up its sleeve to amplify your reach and create a better experience for everyone. One of the most powerful features is adding co-hosts.
When you add another Facebook Page or person as a co-host, your event instantly appears on their timeline. Just like that, you've expanded your visibility to their entire network. It's a simple click with a huge potential payoff.
You can also add a detailed schedule or lineup right on the event page. This adds a layer of professionalism and helps manage attendee expectations, especially for multi-session events like conferences or festivals.
And don't forget to keep the content coming. Visually rich, story-driven posts are your best friend for promotion. According to Hootsuite, photo albums and posts see the highest engagement at nearly 0.15%, with videos right behind them. You can dig into more Facebook engagement statistics on hootsuite.com to see what's working now.
Your goal is to elevate the page from a simple calendar entry to a vibrant community hub. Use the discussion tab to post updates, run polls, and answer questions to keep the conversation going long before the event begins.
Alright, you've built the perfect event page. Now comes the real work: getting people to actually see it. A beautiful page is useless if it’s sitting in an empty corner of the internet.
Your first move? Tap into the network you already have. It’s the lowest-hanging fruit, completely free, and often more effective than you'd think. Start by personally inviting friends, family, and colleagues who you know would be genuinely interested. A personal invitation goes a long way.
From there, start sharing it more widely. Post the event on your personal timeline and, of course, your business Page. But don't stop there. The real magic happens when you share it in relevant Facebook Groups where your ideal attendees are already hanging out. Hosting a local artisan market? Find those community buy-and-sell groups or neighborhood forums and share the details.
Getting More Eyeballs - For Free and With a Budget
A simple, often-overlooked trick is to get your co-hosts, speakers, or performers to share the event. Their networks are full of people you probably don't know, instantly multiplying your reach without spending a dime.
Once you’ve exhausted your organic options, it’s time to put a little money behind it. Facebook's paid promotion tools are your best friend here. You can simply "boost" the event directly from the page, which is a quick and easy way to push it out to a broader audience.
For those who want more control, diving into the Facebook Ads Manager is the way to go. It lets you get super specific, targeting people based on demographics, what they're interested in, and even their online behavior. This ensures your budget is spent reaching the people most likely to click "Interested" or "Going."
The real secret to successful promotion isn't just posting once and walking away. You have to keep the conversation going. Post engaging content inside the event page itself - think polls, behind-the-scenes photos, or even a live Q&A with one of your speakers.
Don't underestimate the power of a good ad. Facebook ad campaigns for events see a steady average click-through rate of around 2.59%, which proves that people are still very receptive when the promotion is targeted well. Based on our experience, posts with strong images boost impressions by over 114% compared to just plain text.
You can learn more about effective Facebook event promotion on time.ly if you want to dig deeper into the ad side of things.
These strategies are your foundation. To really take things to the next level, you’ll want to promote across different platforms. We actually put together a full guide on how to promote your event on social media that covers this. Combining these tactics will keep your event top-of-mind and start bringing in those RSVPs.
Connecting Your Event Beyond Facebook
Your job isn’t done when you hit “Publish” on your Facebook event. Far from it. An RSVP is a good start, but to really lock in attendance, you need to get your event off the social feed and onto people's personal calendars.
This is the move that turns a casual "Interested" click into a genuine commitment.
Think about it. Once someone adds your event to their calendar, it’s no longer just another post they scrolled past. It’s part of their daily schedule, a visible reminder that pops up and keeps your event top-of-mind. This simple action dramatically cuts down on no-shows.
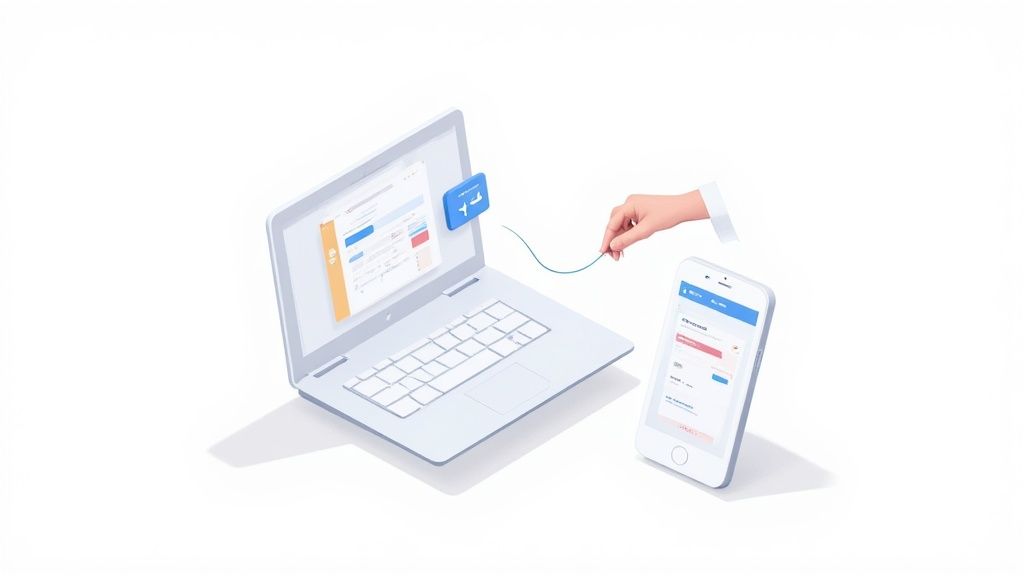
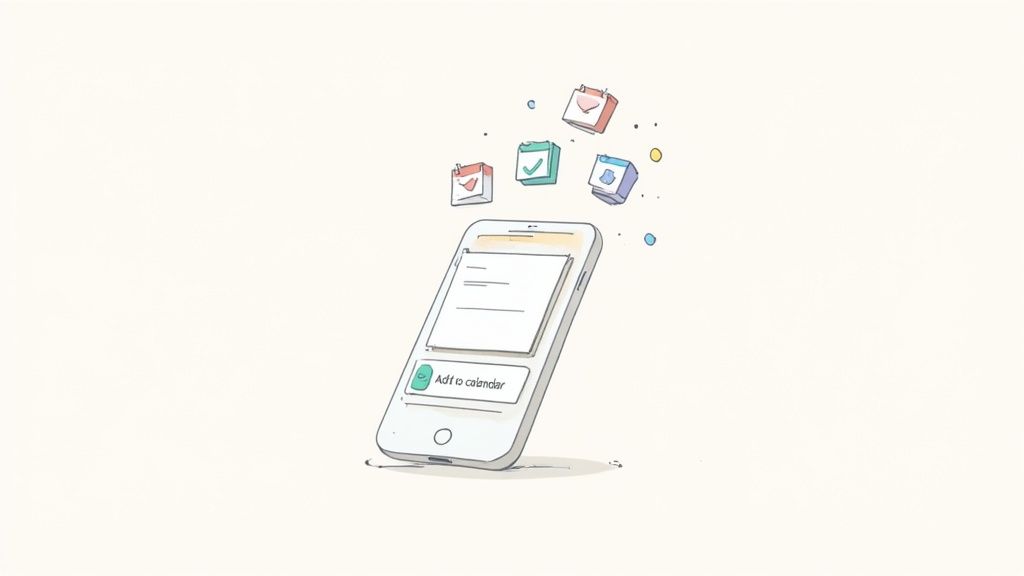
Bridge the Gap with Add to Calendar Buttons
The absolute best way to make this happen is with an "add to calendar" button. It’s a game-changer. With a single click, your audience can save all the event details directly to their Google Calendar, Outlook, or Apple Calendar.
Our service, Add to Calendar PRO, was built to make this ridiculously easy. You can drop a button onto your event page, website, or into your email promotions, giving people an instant way to commit. It’s probably the most powerful thing you can do to turn a passive "maybe" into a confirmed attendee.
The moment an attendee saves your event to their calendar, their intent shifts. They've moved from passive interest to active planning, making them far more likely to show up on the day.
This isn't just a nice-to-have feature; it’s a crucial step for solidifying your attendance numbers and making sure all your promotional work actually pays off. It's how you create a Facebook event page that doesn't just look good but gets real results.
For a detailed walkthrough, check out our guide on how to create an 'add to calendar' link for any event.
Got Questions About Your Facebook Event?
Once you’ve gone through the steps of creating a Facebook event, a few practical questions almost always come up. Nailing these details is the key to a smoothly run event and making sure you’re getting the most out of what Facebook has to offer. Let's tackle some of the most common things that trip people up.
Can I Change Event Details After Publishing?
This is probably the number one question we get asked. The short answer is yes, you absolutely can. Need to tweak the description, add a few more co-hosts, or flesh out the schedule? Go for it. You can edit those details anytime.
But - and this is a big one - be extremely careful when changing the date or time. The moment you change it, Facebook automatically sends a notification to everyone who has responded. If you haven't given people a heads-up, this can cause a wave of confusion and frustration.
Co-Hosts vs. Admins: What’s the Difference?
It’s easy to get these two roles mixed up.
A co-host is great for cross-promotion. When you add a person or another Page as a co-host, the event shows up on their profile or Page, and they get the power to invite people from their own network. It's a fantastic way to expand your reach.
What they can't do is edit the core event details like the name, time, or description. Only the original creator (or any other admin of the Business Page that created it) has that level of control.
Public or Private: Choosing Your Event’s Privacy
This decision is more important than you might think, and it really comes down to your goals.
- Public Events: This is your best bet for anything you want maximum eyeballs on. Think workshops, concerts, or community festivals. Anyone, even people without a Facebook account, can see the page, and it will pop up in searches.
- Private Events: This option turns your event invite-only, making it perfect for things like a birthday party, an exclusive client appreciation dinner, or an internal team meeting.
Here’s the critical takeaway: You can always change a private event to public later on. But you can never change a public event back to private. It’s a one-way street, so choose wisely from the get-go.
Who’s Actually Seeing My Event?
Everyone wants to know how many people have viewed their event page. While you won't get a list of individual names, events created from a Business Page give you access to some seriously valuable Insights.
This data will show you the event's total reach, the number of page views, and other engagement metrics. It gives you a clear picture of how well your promotion is working without getting into creepy individual tracking.
At Add to Calendar PRO, we know that getting your event seen on Facebook is just the first step. To really lock in attendance and slash your no-show rate, you need to make it effortless for people to get the event onto their personal calendars. Find out how our service can make that happen at https://add-to-calendar-pro.com.